A container can look ready for planting and still hold water where roots need air. The problem may be a missing opening, a factory plug that was never removed, a saucer that stays full, or a decorative outer pot that traps runoff. On a patio, rain can add to the problem even when your watering routine is careful.
A pre-plant drainage check takes only a few minutes and is easier to do before the container is heavy with potting mix. The goal is not to make every pot drain as quickly as possible. It is to create a setup in which excess water can leave the ordinary growing container, while the chosen mix still holds enough moisture for the plant and conditions.
How do you test a pot’s drainage before planting?
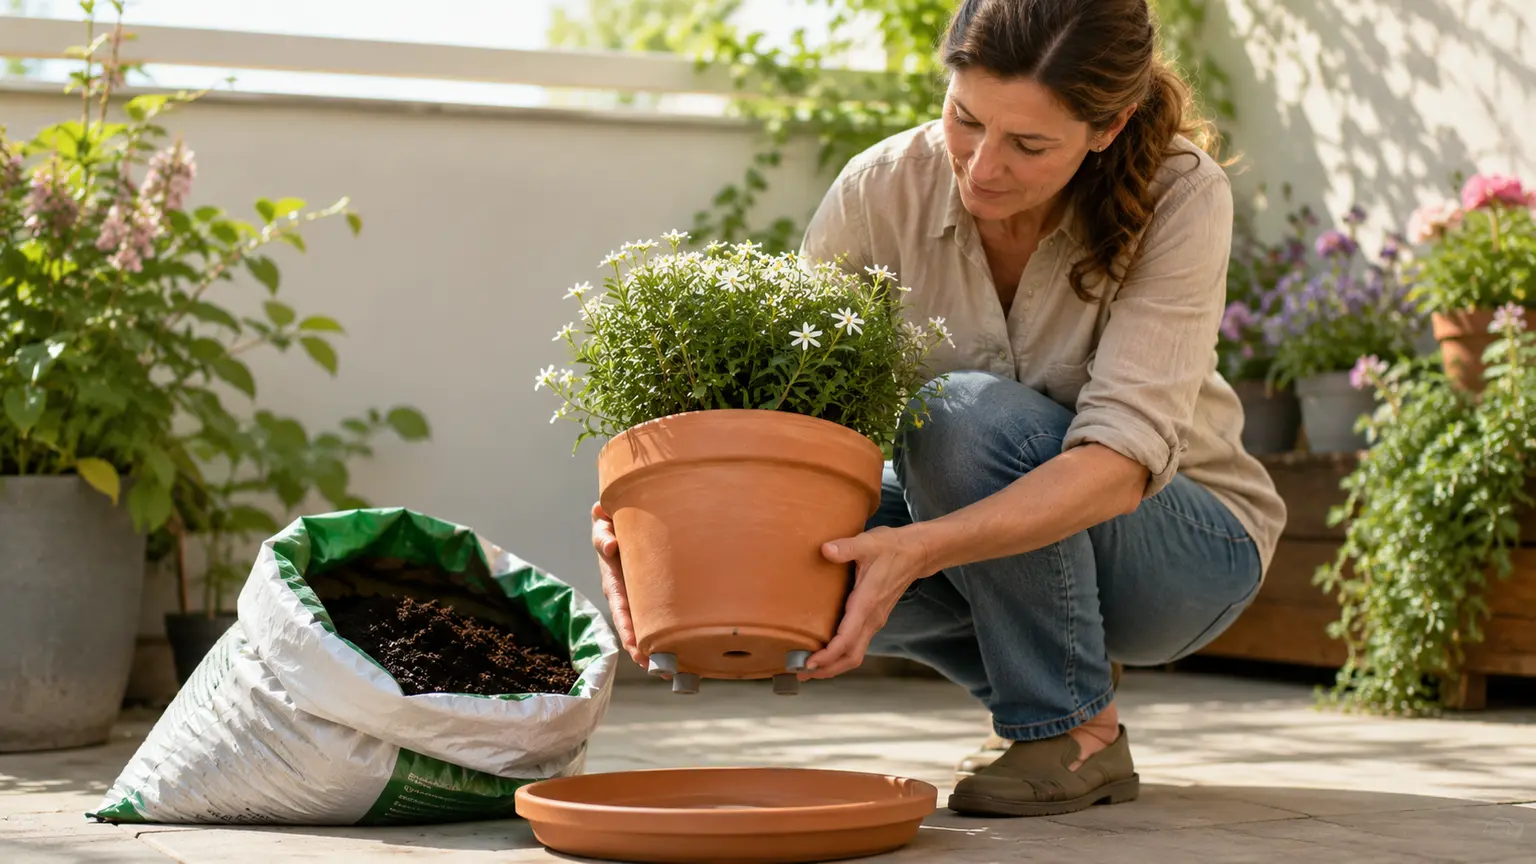
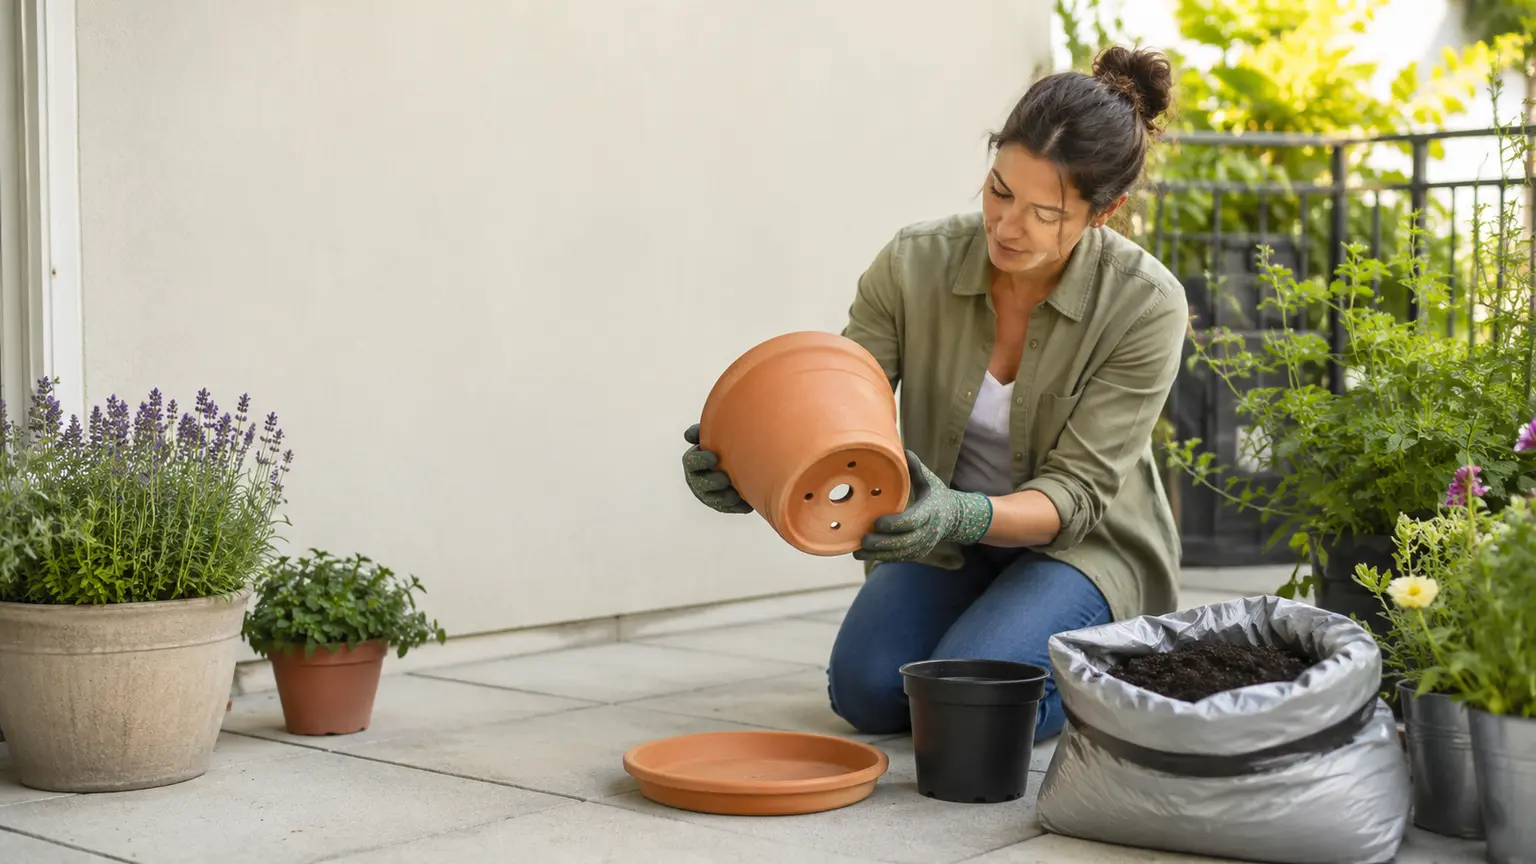
Start with the container empty. Turn it over safely, or tilt it enough to inspect the entire underside. Do not rely on a product label or the appearance of the pot: commercially sold containers do not always have usable drainage openings, and some plastic or resin pots have openings that must be opened before use.
- Identify which vessel will actually hold the planting mix. A decorative cachepot may be only an outer shell, while a removable nursery pot is the true growing container.
- Locate the bottom drainage openings and check that they are open rather than covered by a plug, film, compacted debris, or a piece of packaging.
- Look inside the container as well as underneath it. An opening that appears present from the outside may not provide a clear path through the base.
- Check the container’s condition. Cracks, unstable feet, or a damaged base can affect whether the planted pot will remain safe and functional on the patio.
- If the pot is intended as a self-watering planter or for a bog or aquatic planting, identify it as a different type of system. These are designed to retain or manage water differently from an ordinary drain-through pot.
There is no single hole count, diameter, or pattern that suits every container. The useful check is whether the intended growing chamber has a functional way for excess water to leave. In an ordinary pot, this helps preserve air space in the mix. Prolonged saturation reduces oxygen around roots and can contribute to root damage; this is a drainage warning, not a diagnosis of a particular plant problem.
Test the whole runoff path—not just the holes
Open holes are only the first part of drainage. Water also needs somewhere to go after it leaves the pot. Set the empty container in its intended patio location and inspect the contact points, support, saucer, and any outer vessel.
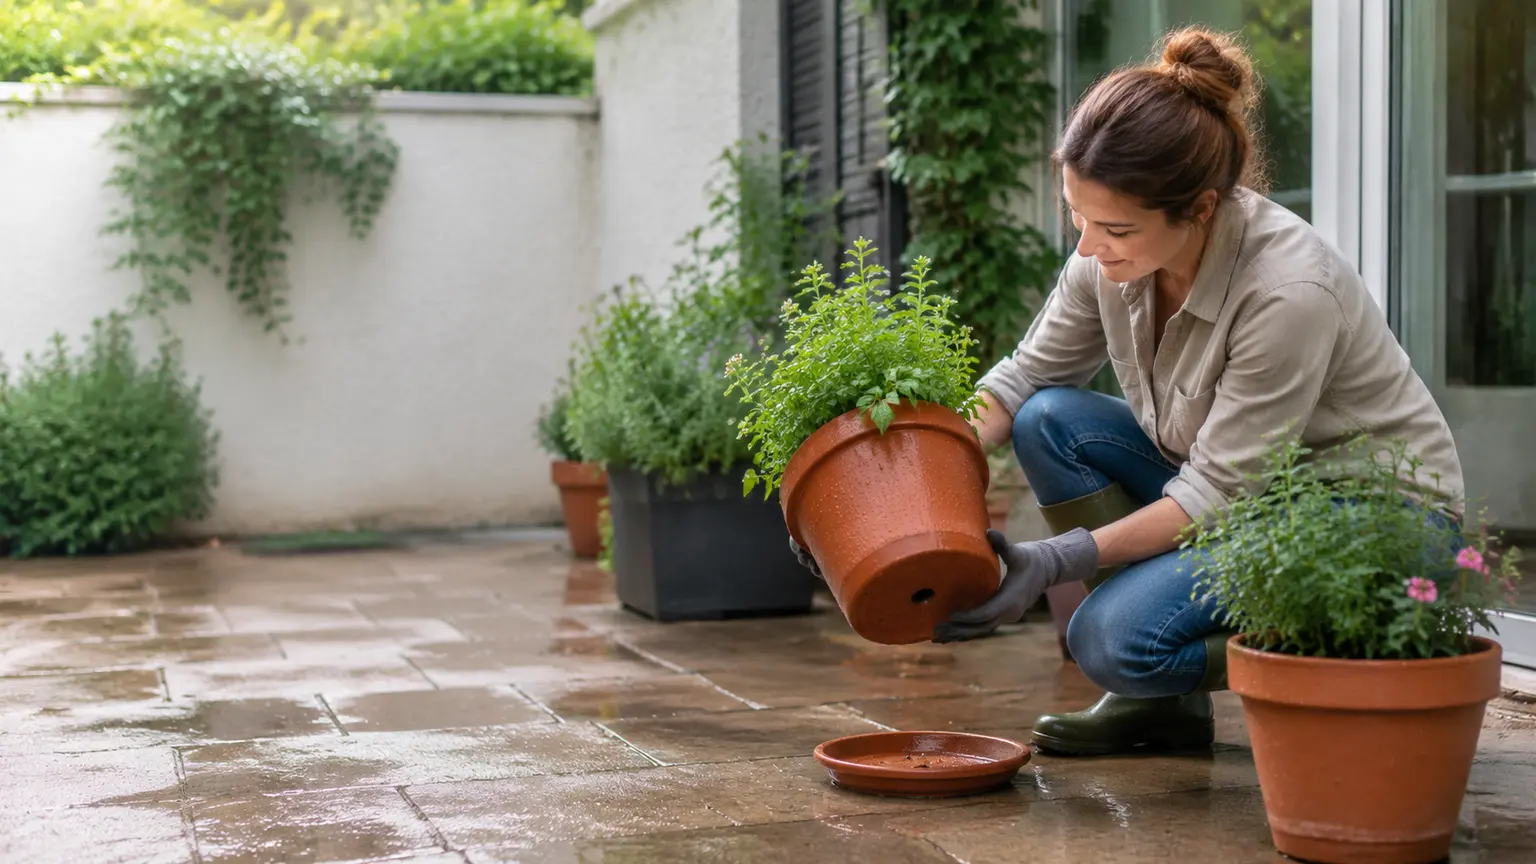
- Saucers: Make sure collected water can be emptied. A saucer that remains full leaves the pot sitting in runoff. Plan to check it after watering and after rain, especially on an exposed patio.
- Cachepots: If the growing pot sits inside a decorative outer pot, confirm that the inner pot is not standing in accumulated water. The outer vessel needs to be emptied when runoff collects.
- Patio surface: Check whether the bottom openings are pressed against a flat, impermeable surface. A low spot can also hold water beneath the pot even when the openings themselves are clear.
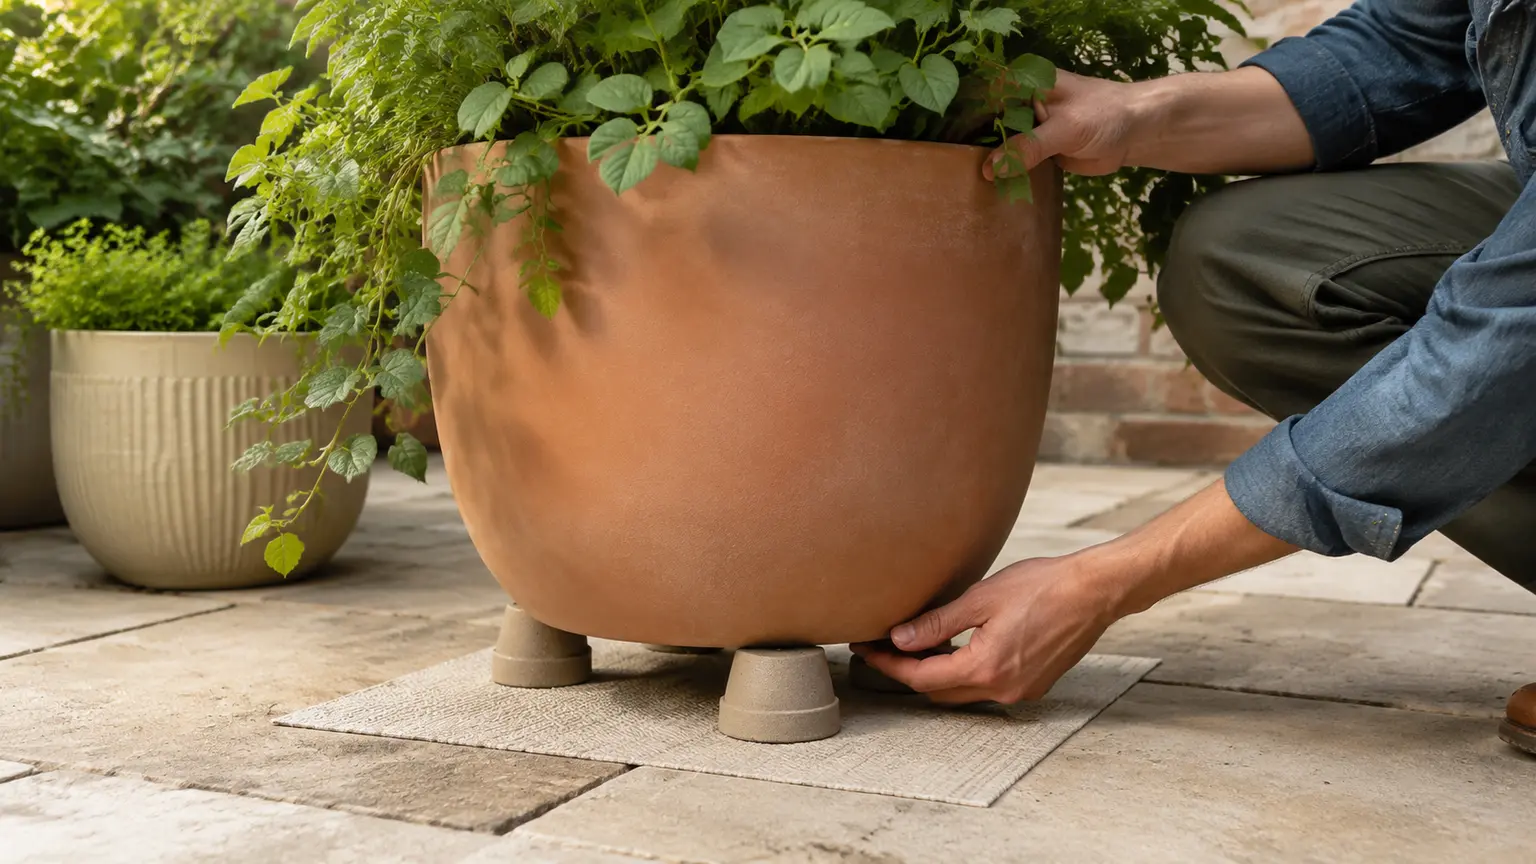
- Stands and feet: Confirm that any support is stable for the container’s eventual weight and leaves the openings unobstructed. Elevation can provide clearance, but it does not repair a pot with inadequate drainage.
- Attached saucers: Treat permanently attached saucers as a special concern if they cannot be emptied easily. A setup that routinely retains water may be a poor match for an ordinary drain-through planting.
For a removable inner pot, look for clearance beneath and around its base rather than pressing it tightly into the outer vessel. The openings should not be covered, and the inner pot should be removable when you need to inspect it or empty collected water. This is particularly useful in summer, when outdoor containers may receive both irrigation and rainfall.
| Check | Pass | Problem sign |
|---|---|---|
| Growing pot | Open holes lead out of the root zone | No hole, closed plug, film, or packed debris |
| Contact point | Every outlet remains clear when the pot is set down | A hole is pressed against the patio, stand, or saucer |
| Runoff container | Saucer or cachepot can be reached and emptied | Water will remain around the pot after rain or watering |
| Potting mix | Labeled for container use and suited to the plant | Dense garden soil or a mix that stays saturated |
Make the potting mix part of the drainage plan
The container and the growing medium work together. Choose a container potting mix that balances drainage, aeration, and moisture retention for the plant, the container’s depth, the patio’s exposure, and the season. University Extension guidance describes soilless mixes as suitable for containers and cautions that field or garden soil can compact and drain poorly in a pot.
A well-aerated mix cannot compensate for a sealed base or a water-filled outer vessel, but it can be an important part of the overall setup. Conversely, open holes do not mean a container will dry at the same rate in every location. A shallow pot in hot sun, a deep pot in shade, and a container exposed to summer rain may need different monitoring.
Do rocks in the bottom of a planter improve drainage?
No. Do not add gravel, rocks, or pot shards beneath the mix as a repair for missing or poor drainage. The fuller explanation is in How to Improve Patio Container Drainage Without Rocks or Broken Pots. Extension sources caution that this type of layer does not improve drainage and can leave water perched in the mix above it. If the pot has no practical drainage path, address the container choice or use a removable growing pot instead of filling the base with material.
This advice concerns a layer inside the planted pot. It does not remove the need to inspect a removable liner or nursery pot placed inside a decorative vessel. Water can still collect around that inner pot and keep its base wet.
When not to alter the pot: choose a removable liner instead
A decorative container with no drainage may be valuable, fragile, glazed, antique, cracked, or made from a material you cannot confidently evaluate. In those cases, alteration does not need to be the default. Double potting offers a reversible arrangement: plant in a removable liner or nursery pot with drainage, then place that growing pot inside the decorative vessel.
- Choose an inner growing pot that fits without sealing its bottom against the outer vessel.
- Confirm that the inner pot has open drainage and contains an appropriate container mix.
- Leave enough clearance to remove the inner pot for watering checks, maintenance, or emptying the outer vessel.
- After watering, check whether runoff has collected inside the decorative container. Empty it rather than leaving the liner standing in water.
- Repeat the check after substantial rain if the arrangement is outdoors and uncovered.
Do not provide drilling instructions for an unknown, glazed, antique, cracked, or otherwise uncertain container. A removable liner avoids making an irreversible change, but it is not maintenance-free. The liner still needs open drainage and must not remain in collected water.
A final check before adding the plant
Before planting, look at the complete setup as a system: growing chamber, bottom openings, mix, saucer or outer vessel, support, and patio surface. If any part prevents runoff from leaving or makes collected water difficult to empty, revise the arrangement while the container is still empty.
- The actual growing pot—not just the decorative outer pot—has open bottom drainage.
- No plug, debris, saucer, or patio contact point blocks the openings.
- The support is stable and provides functional clearance beneath the pot.
- The saucer or cachepot can be checked and emptied.
- The mix is intended for containers rather than ordinary garden soil.
- A valued or uncertain vessel has a removable, drained inner pot instead of an unplanned modification.
- The setup is suitable for the plant’s moisture needs and the patio’s summer exposure.
These checks will not predict every watering need, and they are not a guarantee against plant stress. They do give you a better starting point: water can move through an ordinary container, the root zone has a chance to retain air, and runoff has a place to go.
Sources and further reading
- extension.illinois.edu — extension.illinois.edu
- extension.colostate.edu — extension.colostate.edu
- ext.vt.edu — ext.vt.edu
- hort.extension.wisc.edu — hort.extension.wisc.edu
- www.extension.umd.edu — www.extension.umd.edu
- extension.illinois.edu — extension.illinois.edu