A patio pot does not need a layer of gravel, rocks, or broken-pot pieces to drain well. In fact, Extension guidance explains that a thick coarse layer beneath finer potting mix can leave a saturated zone above it rather than moving water out faster. The more useful approach is to create a clear exit path, use a container-appropriate growing medium, and adjust watering to the plant and conditions.
Do rocks in the bottom of a planter improve drainage?
Water moves through the mix and the container’s drainage openings as a connected system. A coarse layer at the bottom does not automatically improve that movement. Instead, the change in texture between the fine mix and coarse material can hold water in the finer medium above the rock layer. That can keep the root zone wetter than intended.
This advice concerns filling the bottom of the pot with a substantial layer of coarse material. A small screen or limited covering placed directly over an oversized drainage opening is a separate question: it may help retain mix, but it should not be treated as a drainage layer. Sources differ on whether such a covering is needed.
If a container drains slowly, inspect the actual exit path before adding anything underneath the mix. The plant, pot size and material, weather exposure, and growing medium all affect how quickly the container should dry.
What should you use instead of rocks or broken pots?
Start with a pre-plant drainage check, then use this inspection sequence when setting up or troubleshooting a standard patio container:
- Check that the container has drainage holes or slits intended to let excess water escape. Do not assume that a decorative pot is suitable for planting simply because it is deep or attractive.
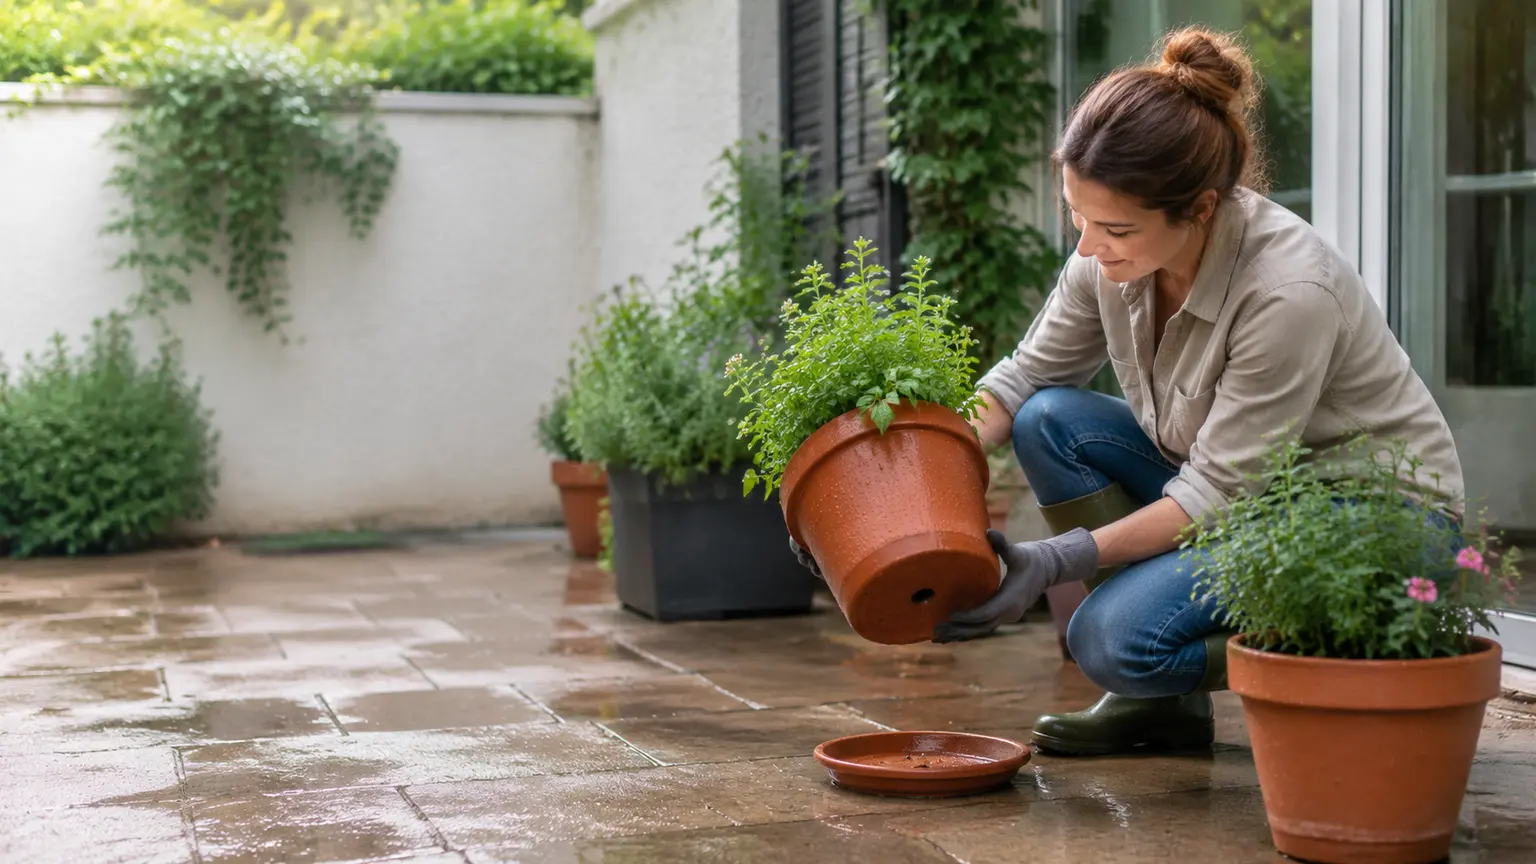
- For a cachepot without a hole, place a planted nursery pot or drained liner inside it. After watering, remove collected water from the outer pot rather than leaving the inner pot standing in runoff.
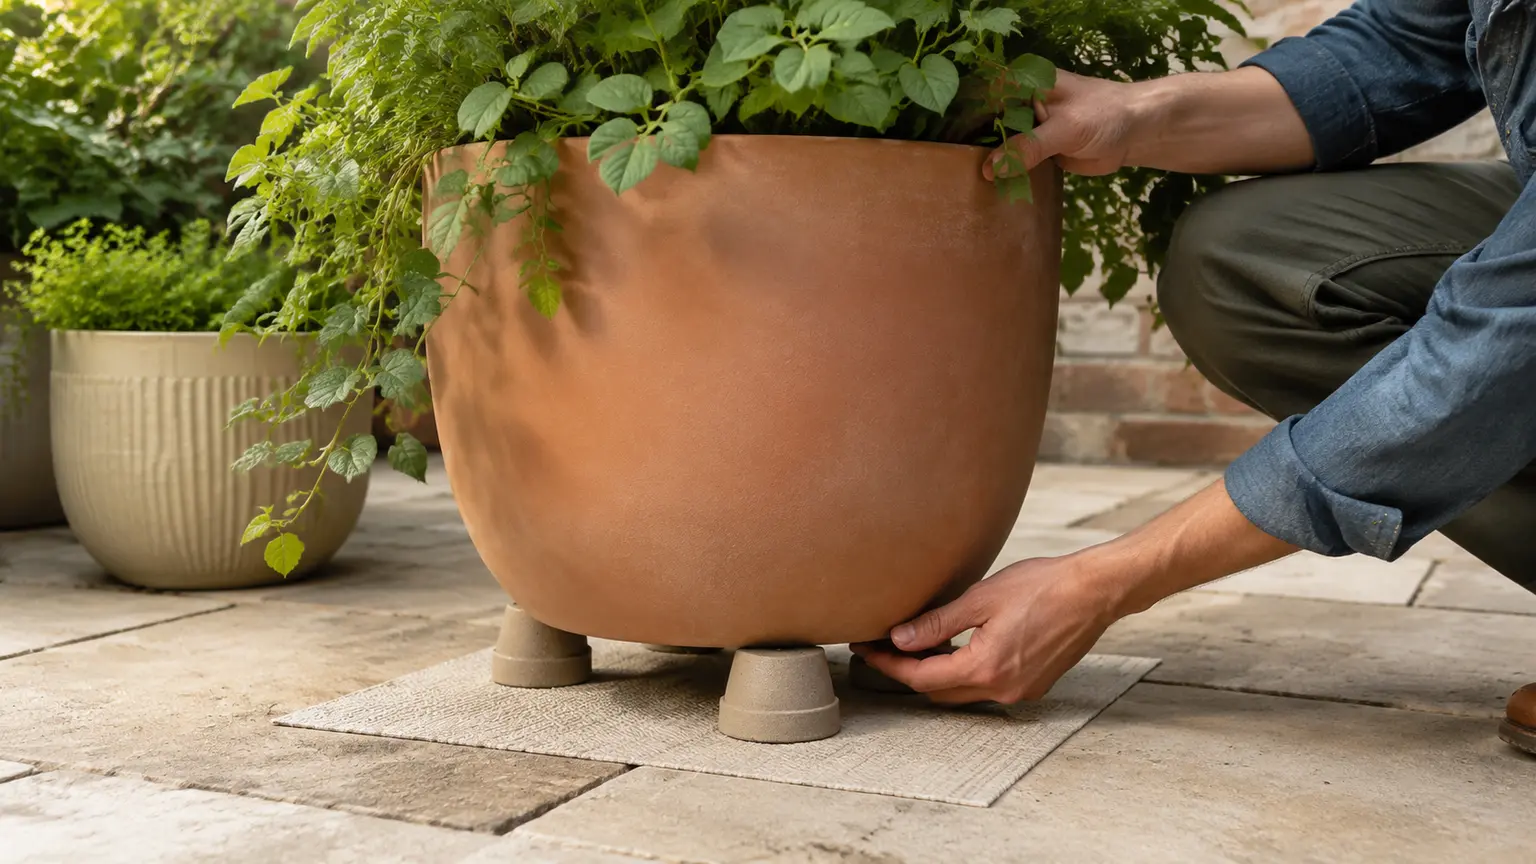
- On a solid patio or deck, raise the planter on stable, purpose-made supports so the outlets are not pressed flat against the surface. Elevation supports drainage openings; it does not replace them.
- Choose a support that can safely carry the loaded pot and will not make a tall or top-heavy container unstable. A makeshift lift is not appropriate if the pot rocks or tips.
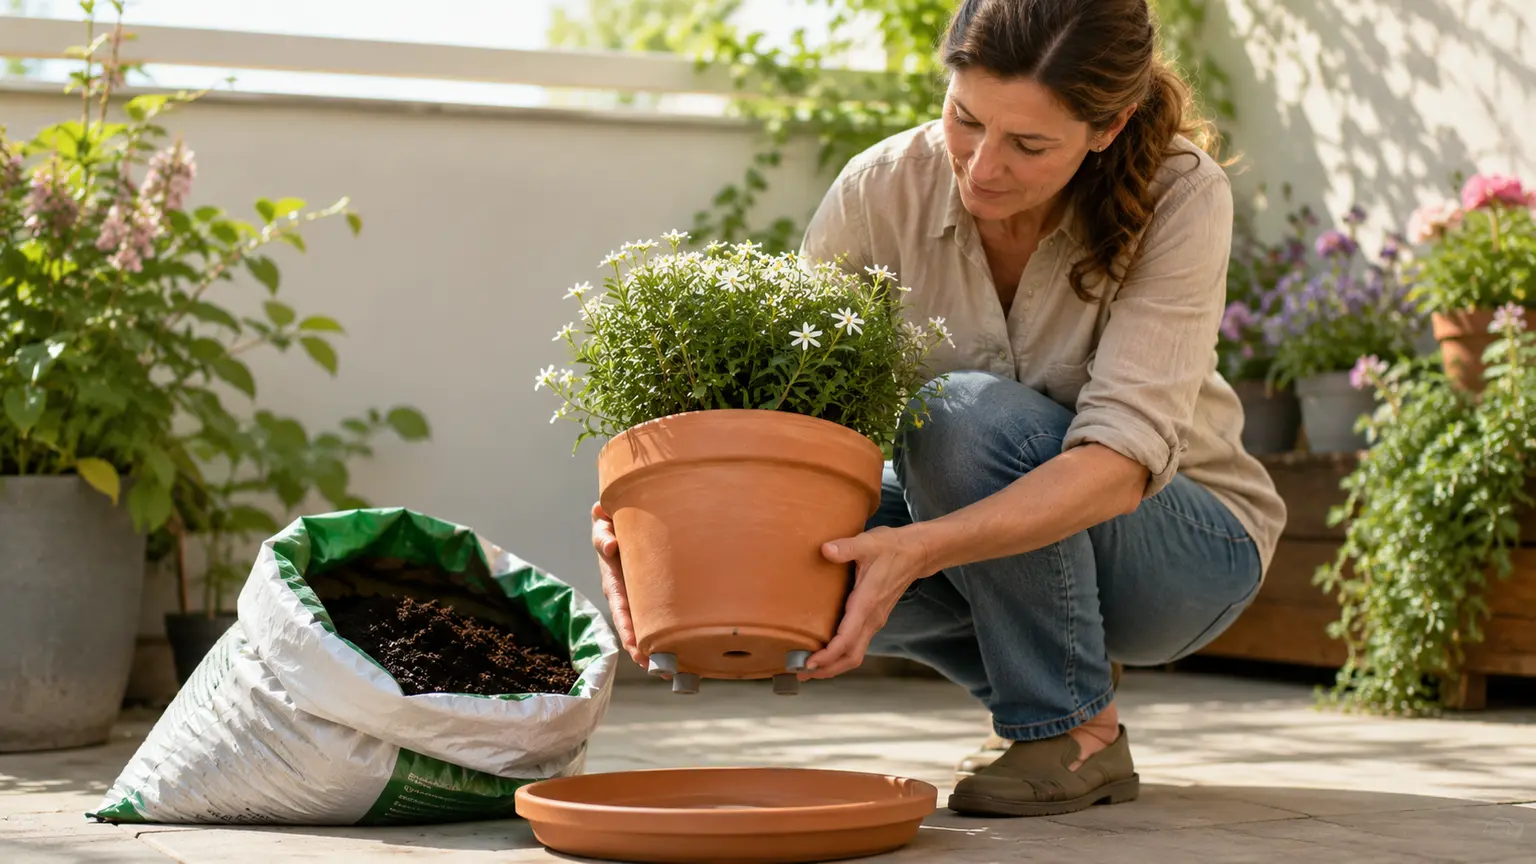
- Use a detachable saucer or drip tray to protect the patio, then empty and check it after rain or watering. A standard drainage pot should not remain in standing runoff.
- Treat self-watering containers differently. Their reservoirs and overflow arrangements are part of the design, so do not drill or alter one without guidance specific to that model.
If a container has no drainage opening and is not designed as a self-watering system, choosing a drained liner or another suitable container is generally more predictable than modifying an unknown ceramic, glazed, glass, or stone pot. Drilling can cause breakage and injury, and hole placement depends on the container’s design.
Improve the root zone with the right medium
Use a light, container-oriented potting mix rather than straight garden soil. Extension sources describe soilless or container mixes as providing pore space for both air and water movement. Garden soil can be too dense in a pot, where it may impede drainage and reduce root aeration.
There is no single mix recipe for every patio plant. Commercial mixes differ in ingredients and water-holding capacity, while plants differ in how long they should remain evenly moist. Select a mix suited to the plant group and container, and avoid adding a thick coarse layer beneath it as a substitute for suitable structure throughout the root zone.
Water by checking the medium, not only the calendar
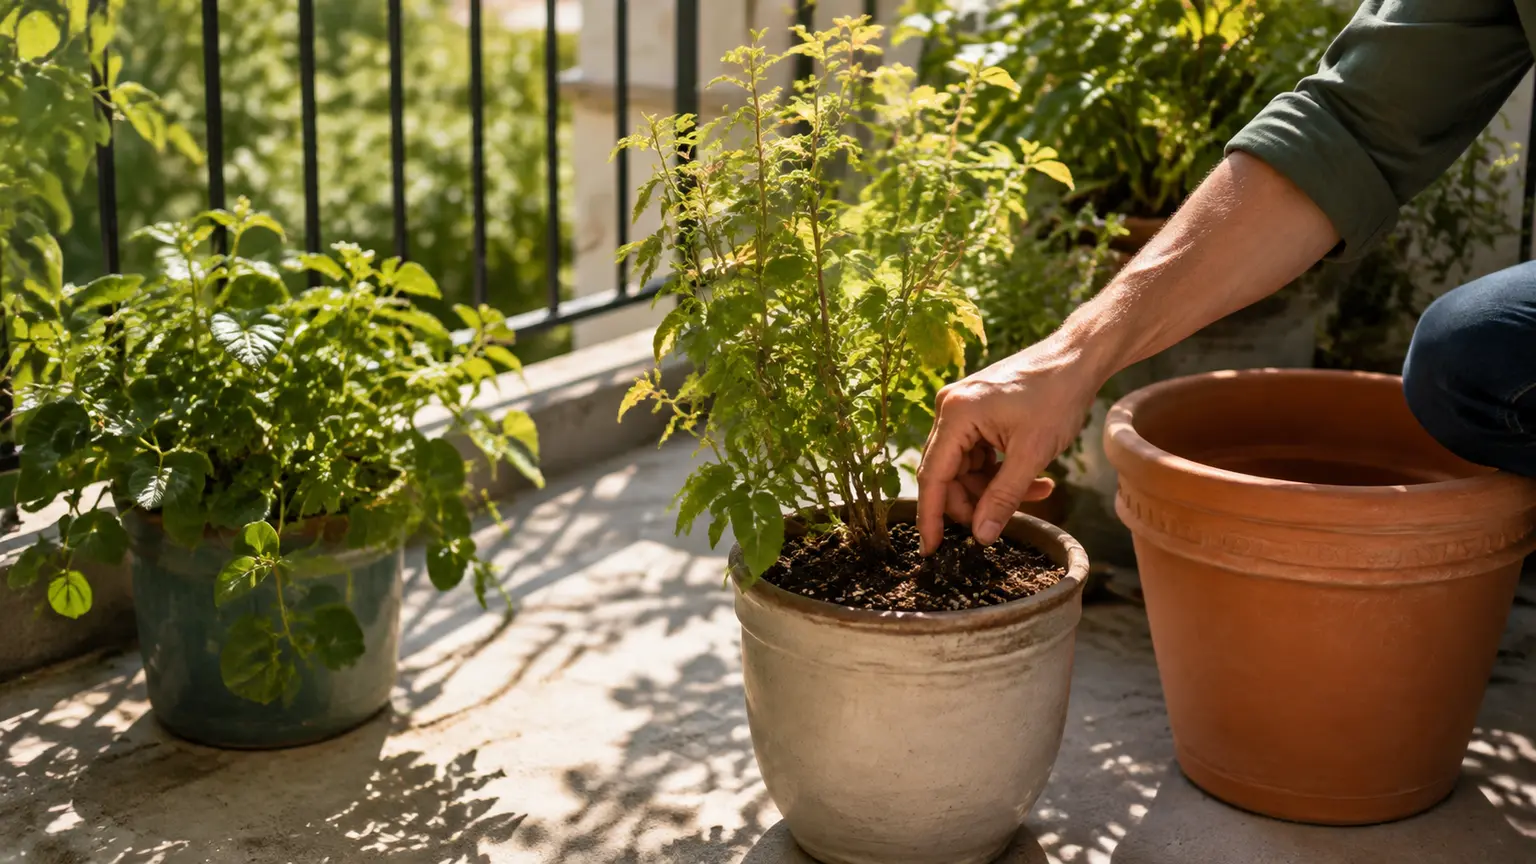
Summer heat can increase drying, but a sunny, windy balcony and a sheltered patio corner will not behave the same way. Pot material and size also matter. Before watering, feel the growing medium below the surface rather than judging only by its appearance. With a lightweight container, lifting it can also help you learn the difference between its dry and recently watered weight.
- Check moisture below the surface in the area where the plant’s roots are growing.
- Interpret that check according to the plant. Drought-adapted plants should not automatically be managed like moisture-loving annuals or vegetables.
- When watering is appropriate, apply water thoroughly enough that excess reaches the drainage openings.
- Let the pot drain fully, then empty standing water from the saucer or outer pot.
- Recheck sooner during hot, bright, or windy weather, but do not water solely because it is a particular day of the week.
Yellowing, wilting, or slow growth can prompt an inspection, but none of those symptoms proves that poor drainage is the cause. Check the holes, the saucer, the moisture level below the surface, and—if needed—the roots before changing the setup.
When a drainage problem calls for repotting
A container may drain poorly because its holes are blocked, but the medium or root ball may also be the problem. Consider taking the plant out for inspection when the mix has become compacted, hard to wet, or persistently slow to release water. Repotting may also be appropriate when roots densely circle the root ball, fill much of the pot, or emerge through the drainage openings.
A related warning is unusually fast drainage. Water that runs quickly out of the bottom can mean the medium has dried and become difficult to rewet, or that roots have filled the container and water is bypassing much of the mix. Diagnose the root ball and medium before automatically moving the plant into a much larger pot.
- Remove the container from its saucer or outer pot and inspect whether the drainage openings are clear.
- If the plant is root-bound or the mix is compacted, examine the root ball before selecting a replacement container.
- Refresh the medium with a container-oriented mix appropriate for the plant rather than adding rocks beneath it.
- Choose a replacement pot based on the plant’s roots and growing needs, not simply on the desire for faster drainage.
- After repotting, return to moisture checks and observe how the new mix behaves in the patio’s summer conditions.
A simple drainage checklist
| Check | What to look for |
|---|---|
| Container outlet | Drainage holes or slits are present and unobstructed. |
| Patio contact | The pot’s base is not pressing the outlets flat against the surface. |
| Runoff | The saucer or cachepot is emptied after drainage. |
| Growing medium | The mix is intended for containers, not straight garden soil. |
| Watering decision | Moisture is checked below the surface and interpreted by plant and conditions. |
| Root zone | Compaction, difficult rewetting, or dense circling roots trigger an inspection rather than a reflexive rock layer. |
Sources and further reading
- extension.illinois.edu — extension.illinois.edu
- www.extension.umd.edu — www.extension.umd.edu
- extension.illinois.edu — extension.illinois.edu
- extension.umd.edu — extension.umd.edu
- extension.colostate.edu — extension.colostate.edu
- content.ces.ncsu.edu — content.ces.ncsu.edu
- extension.psu.edu — extension.psu.edu
- extension.psu.edu — extension.psu.edu
- www.extension.umd.edu — www.extension.umd.edu
- extension.oregonstate.edu — extension.oregonstate.edu
- extension.umd.edu — extension.umd.edu
- extension.umn.edu — extension.umn.edu