A container garden can change quickly during a heat wave. A pot that was adequately moist in the morning may become dry by afternoon, while another may look wilted even though its root zone still contains water. The most useful response is therefore staged: observe first, correct the immediate problem, reduce exposure, prioritize limited time or water, and reassess after conditions moderate.
This approach avoids fixed temperature triggers and universal instructions such as watering every day. Container size, material, plant maturity, potting mix, sun, wind, and the location of each pot all affect how quickly moisture is lost.
1. Before the Heat Arrives: Make a Container Exposure Map
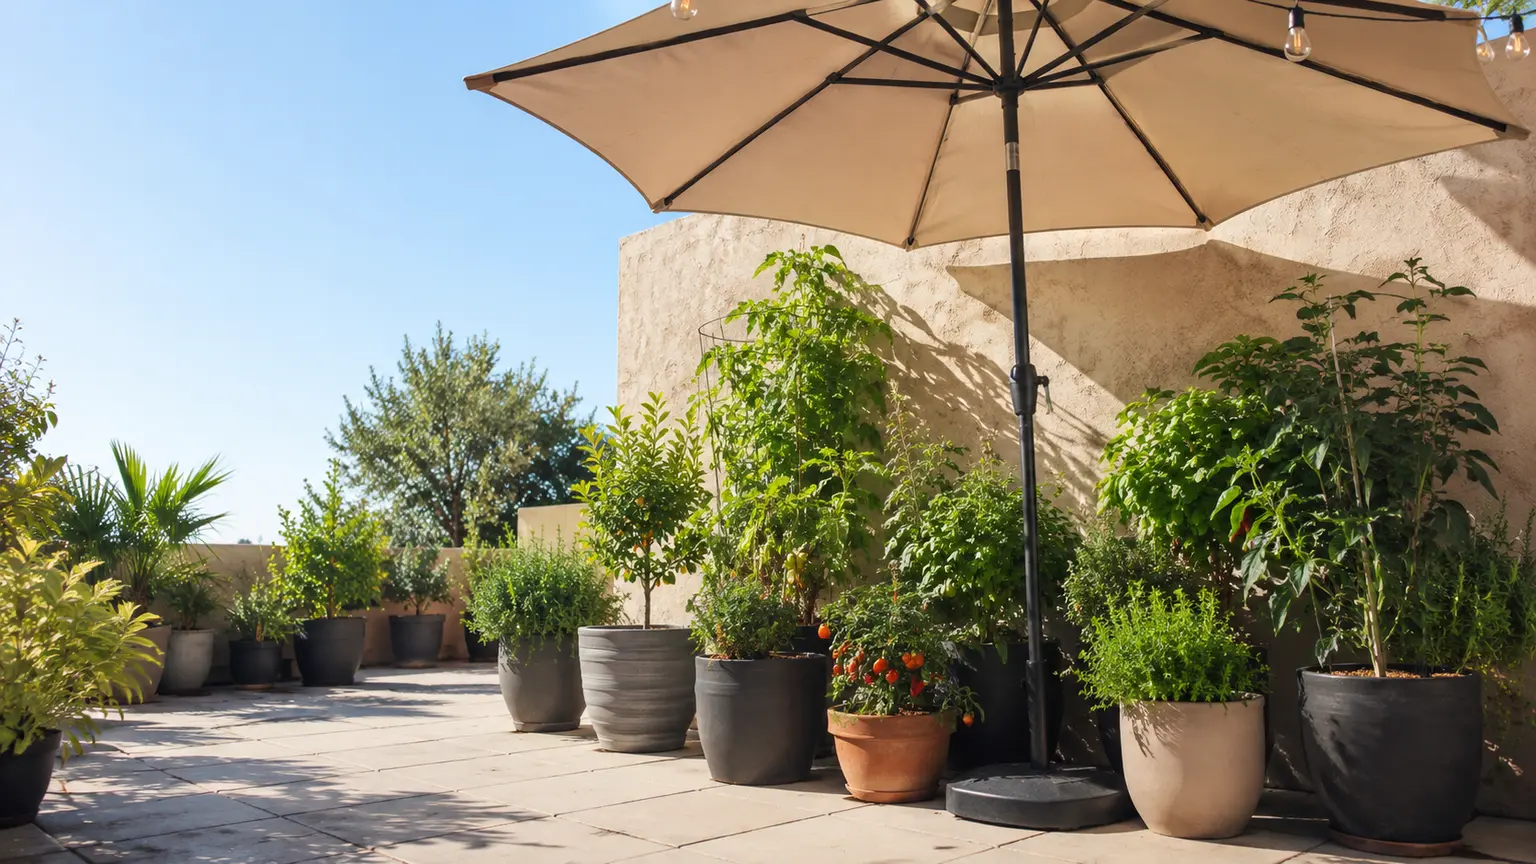
Walk through the garden before the most difficult weather arrives and mark the containers that may need the earliest checks. Note each pot’s size and material, the hours of direct sun, nearby walls or pavement that reflect heat, wind exposure, drainage, and whether rain actually reaches it. Pots beneath an overhang or beside a building may stay dry even after a storm.
Small containers and porous containers often have less moisture reserve or lose moisture more quickly than larger, more sheltered pots. A large plant with a well-developed root mass can also draw from the mix rapidly. These are useful warning signs, not a universal ranking: a drought-adapted plant may appropriately dry more between waterings than a vegetable, annual, or moisture-loving plant.
- Place a visible marker or note beside the smallest, sunniest, or windiest pots.
- Identify portable containers that can receive morning sun and temporary afternoon shade.
- Check that every pot has a functional drainage opening and that saucers or decorative covers are not trapping water.
- Record which containers hold plants you especially want to preserve, such as mature specimens, long-season crops, or plants that would be costly to replace.
- Plan a stable place for shade cloth or a windbreak before the weather becomes difficult to manage.
For a more detailed site assessment, see How to Map Sun, Heat, and Wind on a Small Patio Before Choosing Plants.
2. The Daily Heat-Wave Check: Read the Root Zone Before You React
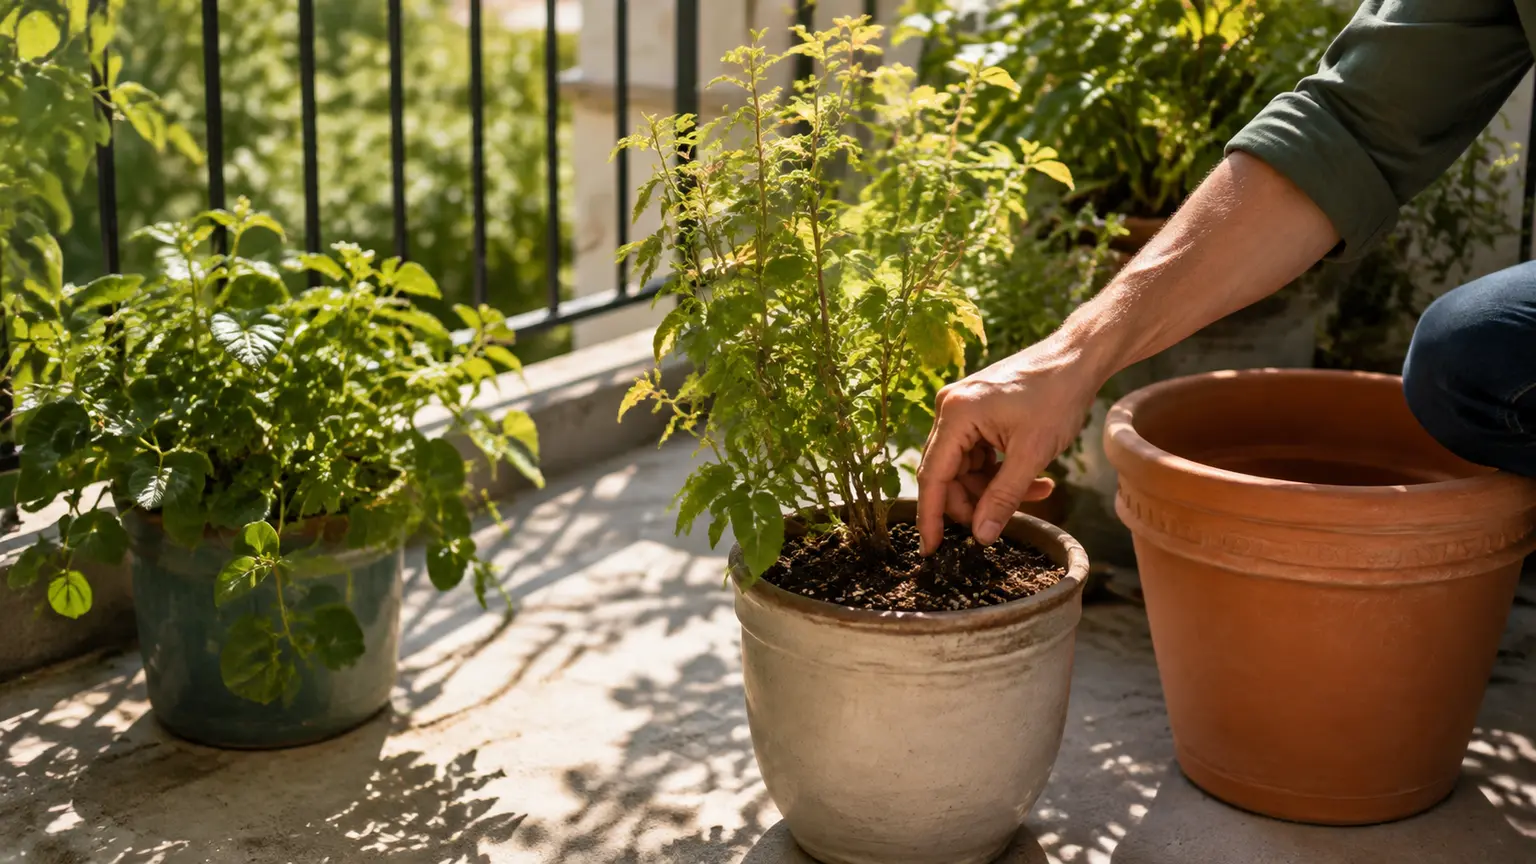
Begin each check with observation rather than automatic irrigation. Look at the foliage, stems, flowers, and surface of the potting mix. Then feel the mix below the surface, where the plant’s roots are actually growing. In a light container, lifting the pot can also help: compare its weight with how heavy it feels after a thorough watering.
Afternoon leaf droop does not, by itself, prove that the container is dry. Plants can wilt temporarily under heat even when root-zone moisture remains adequate, and both overwatering and underwatering can produce concerning symptoms. If the mix is still moist below the surface, first reduce exposure to intense afternoon sun or drying wind and check again later rather than adding water automatically.
3. Response Actions: Rehydrate, Shade, and Block Drying Wind
Water the root zone when the mix needs it
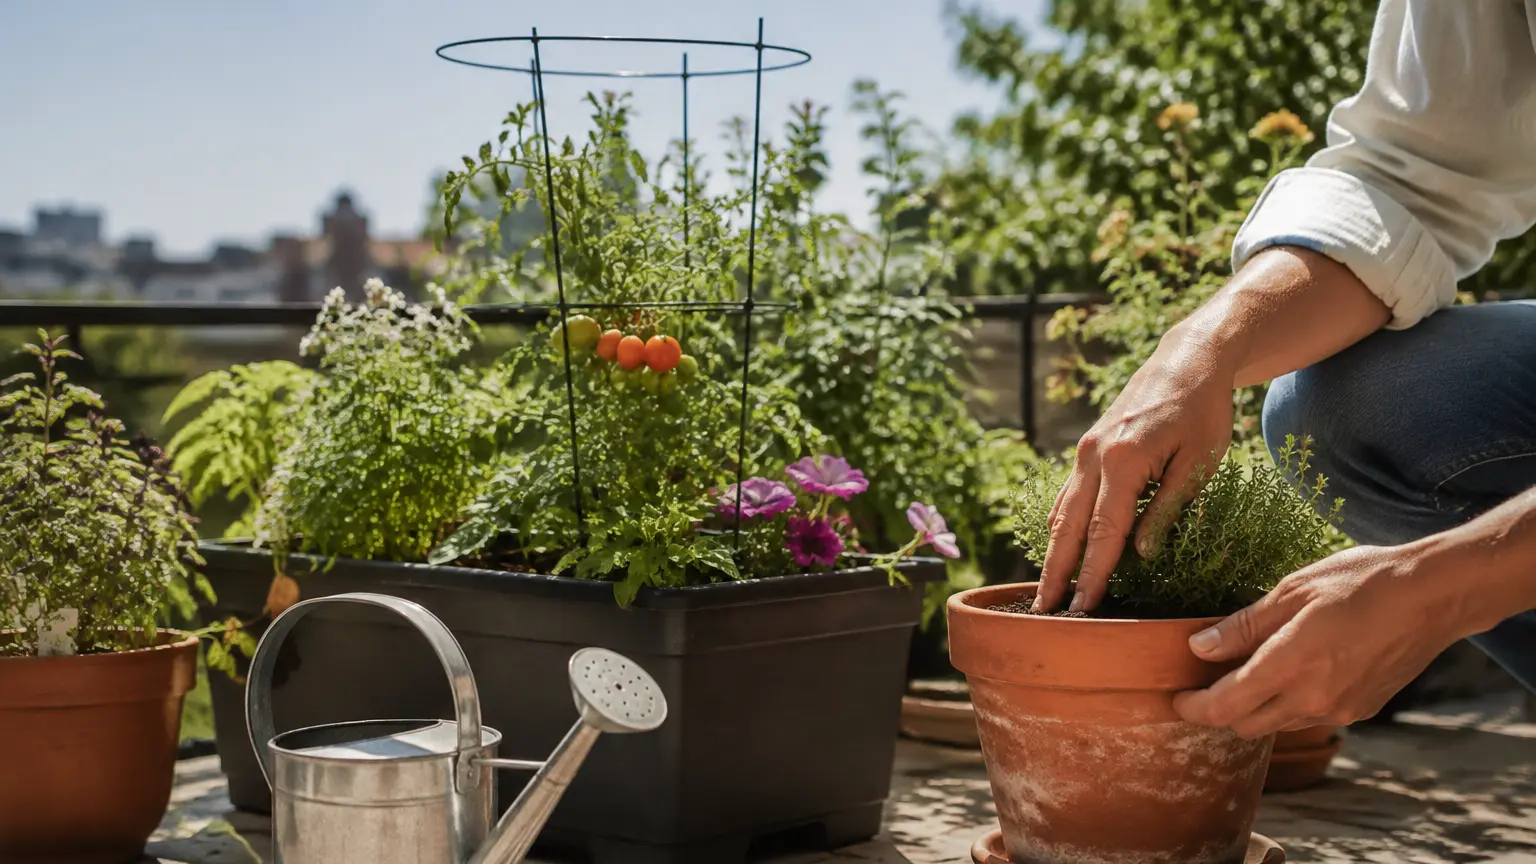
When a moisture check indicates that watering is needed, apply water slowly to the potting mix at the plant base. Continue until the mix is re-moistened and excess water drains from the container’s opening. A gentle watering-can rose or hose breaker helps keep seedlings, stems, and loose potting mix from being displaced.
Do not turn this into a fixed volume or daily routine. The appropriate amount depends on the container, plant, potting mix, weather, and location. Waterlogged containers need a different correction than dry ones, so drainage should be verified rather than assuming that adding more water is always helpful. For a focused watering guide, read How to Water Patio Containers During Hot, Dry, or Windy Weather.
Re-wet exceptionally dry mix gradually
If the potting mix has pulled away from the sides of the pot, water may run down the gap without wetting the root ball well. Move the container out of direct sun if possible, then apply water gradually. For a small or medium portable pot, setting it in shallow water for a limited period can help moisture wick upward. This is a rescue technique, not a routine. Do not leave the pot standing in water indefinitely.
Reduce the exposure that is causing the problem
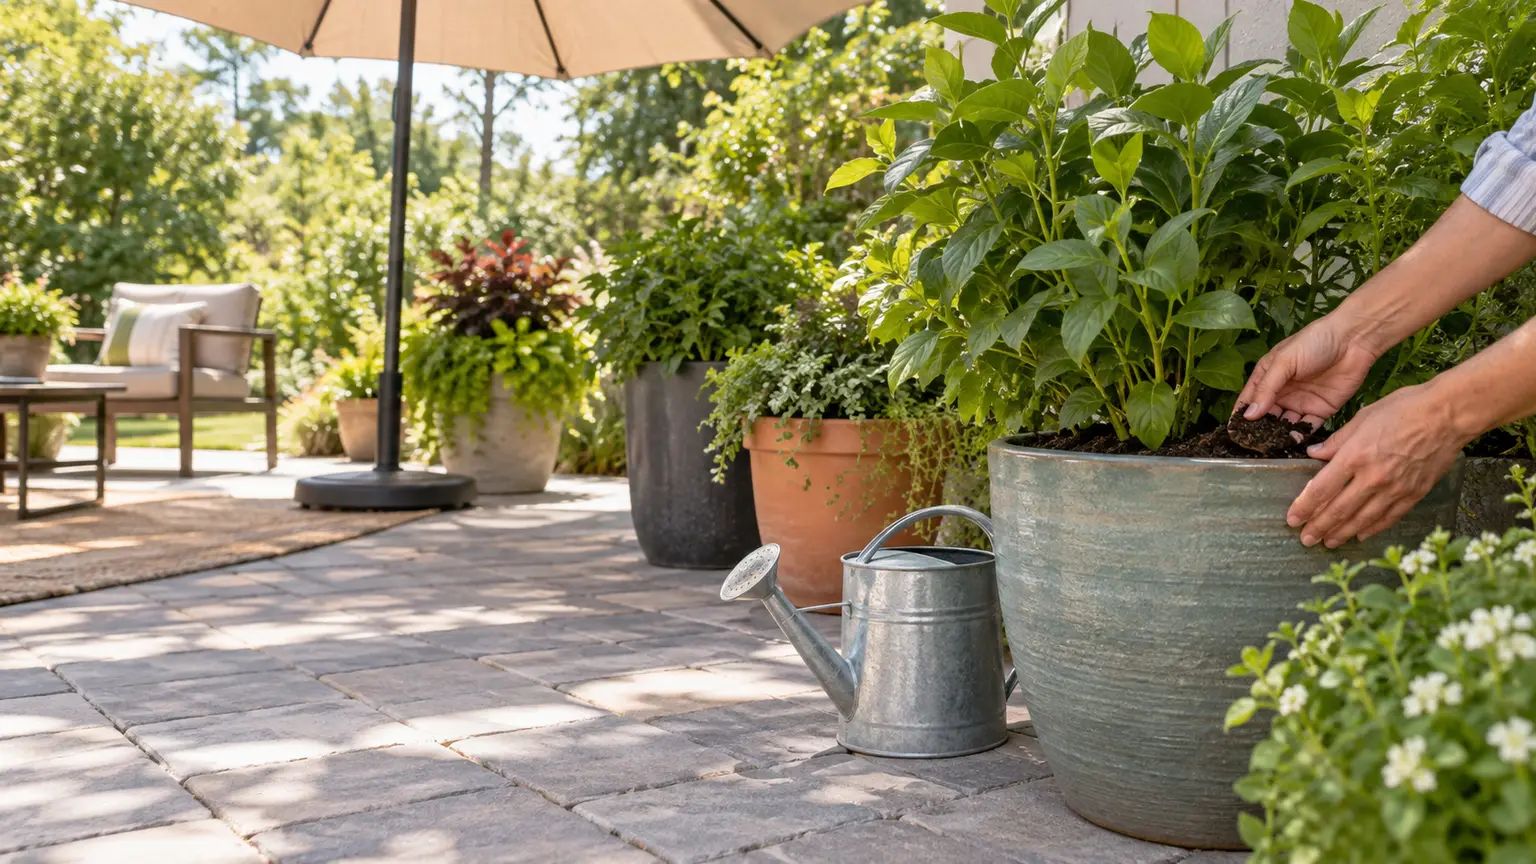
Use temporary protection where it addresses an identified exposure. Move portable pots to morning sun and afternoon shade, or shift them away from a hot wall or drying wind. Shade cloth held above the plants can reduce intense afternoon sun while allowing air to circulate. Secure the support, keep fabric from rubbing foliage, and account for wind before leaving the setup unattended.
Grouping containers and adding an appropriate mulch layer can reduce evaporation from the surface of the potting mix. Neither measure replaces a moisture check, and not every full-sun plant should be placed in deep shade for an extended period. The useful goal is temporary relief during the most stressful exposure. For setup details, see How to Shade Patio Plants During Extreme Heat Without Blocking Airflow.
4. Triage When Time or Water Is Limited
When every container cannot be managed at once, use a transparent priority system rather than trying to treat all pots identically. Start with plants and containers that combine rapid drying with high vulnerability or high personal value.
- Check exposed small pots, porous containers, young plants, and vulnerable vegetables first when their root zones are dry.
- Give attention to containers with large plants or substantial root systems that may use available moisture quickly.
- Prioritize plants with long-term value, unusual specimens, or a high replacement cost according to your own garden’s priorities.
- Address pots in full sun or drying wind before more sheltered containers, but confirm moisture rather than relying on location alone.
- If water or time remains limited, protect the containers most likely to fail quickly and accept that some lower-priority plants may need to be monitored rather than fully sheltered.
This is a household decision framework, not a national rule. Plant type, potting mix, age, exposure, and your available resources should shape the final order.
5. After the Heat Breaks: Recovery and Reset
Recovery should be a low-intervention reassessment period. Continue checking moisture below the surface after the heat subsides, because a damaged or recently protected plant may not return immediately to its earlier water-use pattern. Look for persistent stress rather than judging the plant from one afternoon’s appearance.
Postpone transplanting, major pruning, and fertilizer applications during extreme heat. Once conditions moderate, remove only material that is clearly dead and allow time for the plant to show which growth is still viable. Leaf curl, stalled growth, and flower drop may be temporary, but prolonged dryness, root injury, or sunscald can cause lasting damage. Recovery is possible, not guaranteed, and timing varies by plant, age, root condition, and the duration of the event.
Finally, revise the exposure map. A pot that repeatedly dries first may need a different location, a more suitable container, surface mulch, or a revised check routine. A pot that stayed wet may need improved drainage or a location with better airflow. The goal is not to create a rigid summer schedule, but to make the next observation faster and the next response more targeted.
A brief safety reminder for the gardener
Schedule lifting, moving pots, and other strenuous garden tasks for cooler parts of the day. Drink water, take breaks, and postpone outdoor work when local heat or air-quality conditions make it unsafe. A heat-wave plan should protect the person tending the containers as well as the plants.
Sources and further reading
- extension.umd.edu — extension.umd.edu
- extension.umn.edu — extension.umn.edu
- extension.umd.edu — extension.umd.edu
- www.extension.umd.edu — www.extension.umd.edu
- extension.colostate.edu — extension.colostate.edu
- extension.oregonstate.edu — extension.oregonstate.edu
- extension.psu.edu — extension.psu.edu