Patio containers have a small root zone and can change quickly from adequately moist to dry. But that does not mean every pot needs water every day—or that every hot afternoon calls for another soaking. Container size, potting mix, plant stage, sun, temperature, dry air, wind, and drainage all affect how quickly moisture is used or lost.
A more reliable summer routine is diagnosis first: check the mix, consider the container and plant, look at the weather, and then water only when the evidence points to a need. This approach also helps avoid treating temporary heat-related wilting as proof that roots are dry.
Why summer container watering cannot run on a fixed schedule
A pot in a sheltered corner may hold moisture longer than a hanging basket exposed to wind. A large plastic container usually has a larger moisture buffer than a small, unglazed ceramic pot. A newly planted container may use water differently from one filled with mature, root-crowded growth. Fruiting vegetables and plants with a large foliage mass can also place greater demand on the available moisture.
Weather can change the diagnosis from one day to the next. Heat increases water loss, while dry air and wind can increase transpiration even before the potting mix is completely dry. Use the patio sun, heat, and wind mapping guide to identify exposed spots, but treat exposure as one factor—not as a watering schedule.
The morning container check: a quick diagnosis
Morning is a practical default for the main inspection and watering. It gives a plant access to water before the hottest part of the day, while still allowing you to respond later if conditions change. Check each container rather than assuming a whole group needs the same treatment.
- Look at the plant. Note persistent wilting, drooping, or other stress, but do not diagnose dryness from appearance alone. Heat and wind can cause temporary wilting, and overwatered roots can produce similar symptoms.
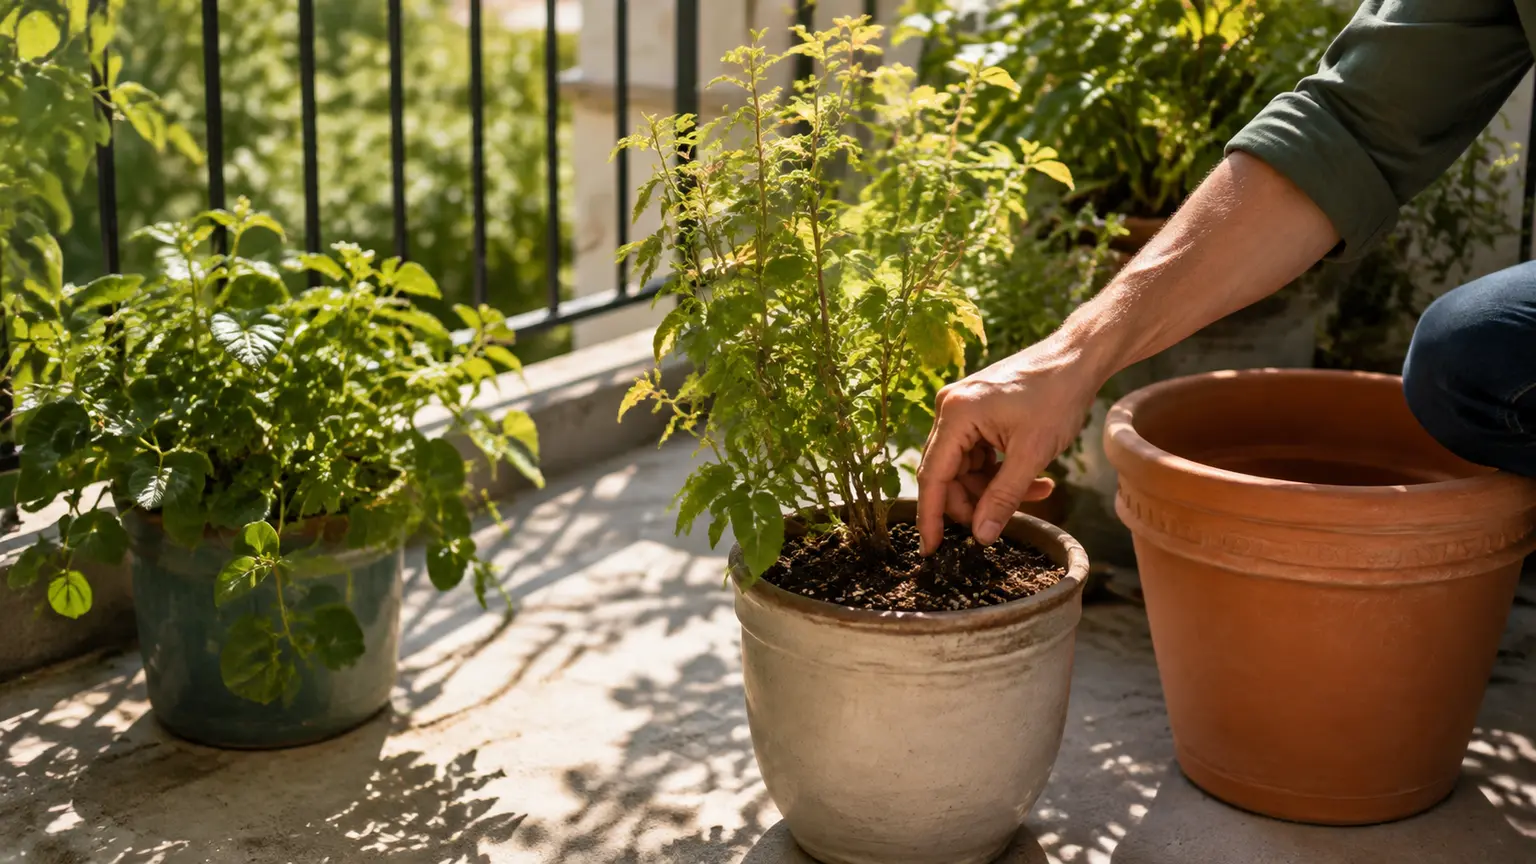
- Feel the potting mix below the surface. Use a finger or a simple tool to check the upper inch or so where practical. Surface dust alone is not enough evidence, and a damp surface does not always describe the moisture lower in the pot.
- Lift or tip the container slightly when it is safe and practical. A noticeably lighter pot can support the diagnosis that moisture has been used, especially when you learn the normal weight of that container after watering.
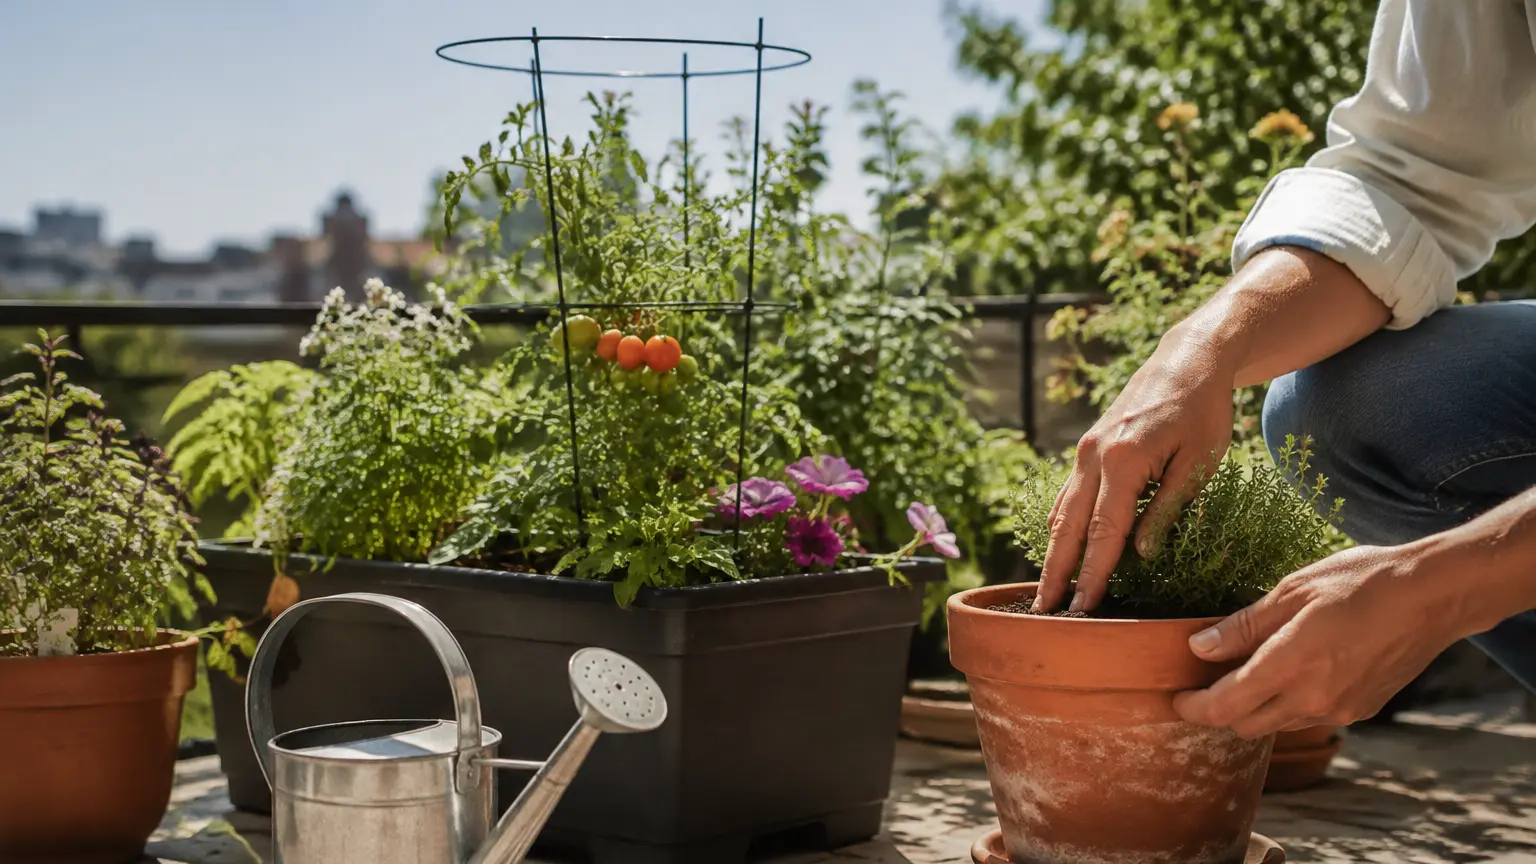
- Consider the container. Small, hanging, porous, or root-crowded pots deserve closer attention because they have less moisture buffer or more exposed surface area. Check that drainage holes remain open.
- Consider the plant’s stage and growth. A mature planting that fills the root zone may need monitoring more often than a young or lightly planted container.
- Check the forecast and the site. Heat, low humidity, strong sun, and wind can justify a later inspection, but they do not automatically justify watering a still-moist root zone.
Think of “check twice” and “water twice” as different decisions. A second check may be sensible on a severe heat, dry-air, or wind day. Water a second time only if that check shows the mix has dried enough for the plant and container involved.
If the mix is dry: water the root zone, then verify drainage
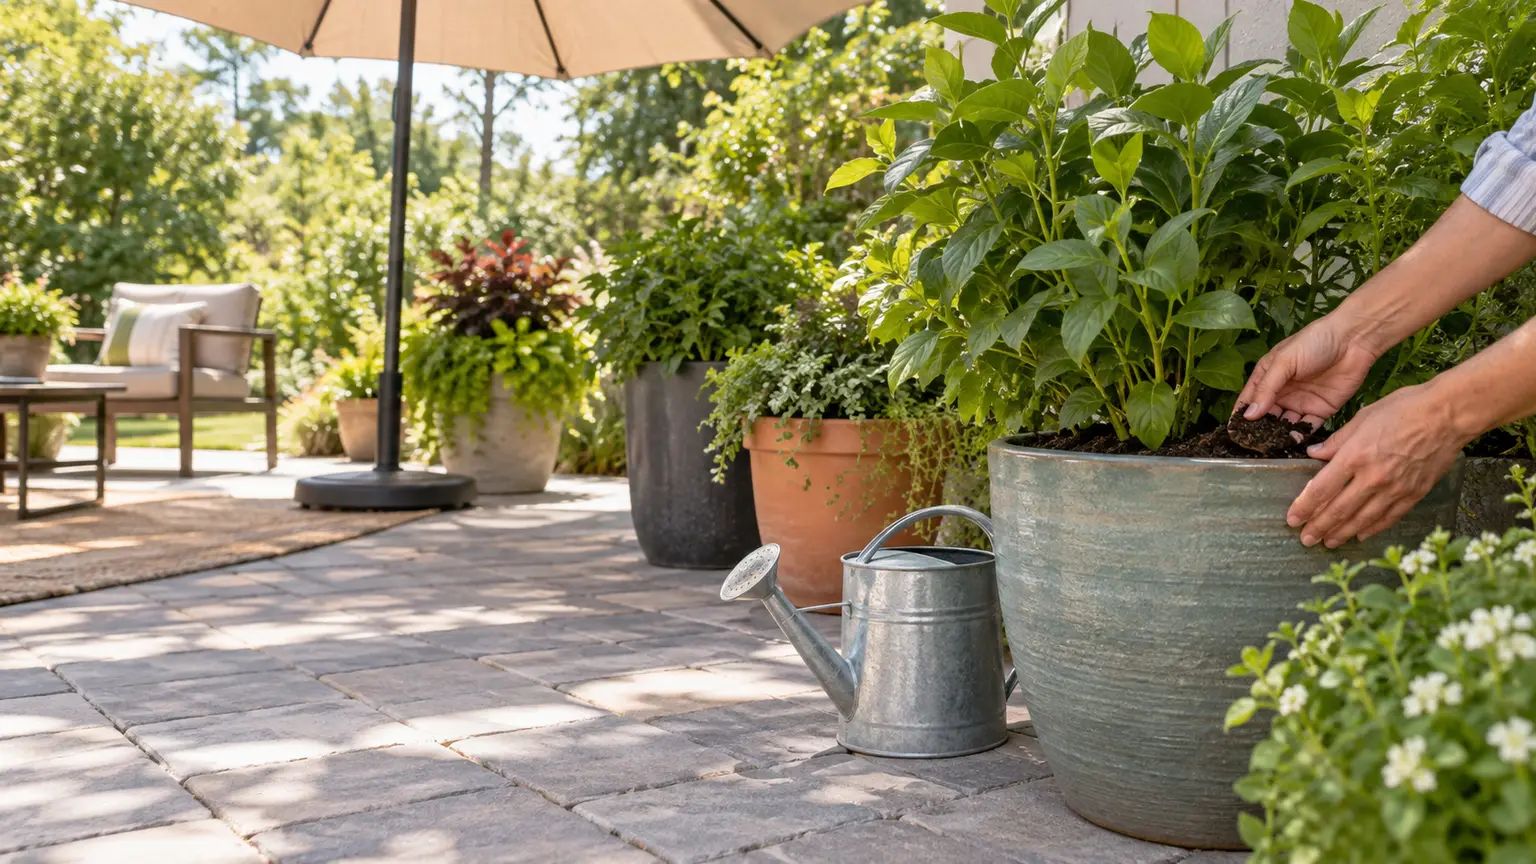
When the mix indicates a need, apply water to the potting mix around the root zone rather than relying on a quick splash over the surface. Water slowly enough that the mix can absorb it, and continue until the container is wetted through and water begins to exit the drainage holes. Runoff is useful evidence that water reached the lower part of the root zone, provided the holes are functioning.
A severely dried mix may shrink away from the sides of the container. In that situation, water can run down the gap and out of the pot without evenly rehydrating the root ball. Slower repeated applications may be needed, with time for the mix to absorb water between applications. Recheck the mix rather than assuming that visible runoff means the entire root zone is moist.
Drainage is part of watering, not an optional extra. Keep drainage holes open, and do not leave most standard patio annuals, herbs, or vegetables standing in runoff. Empty saucers or trays regularly so roots are not left in prolonged waterlogged conditions. Standing water can also concentrate salts or contribute to nutrient loss. Plant-specific exceptions may exist, but moist media should not be treated as permanently soggy media.
When an afternoon or evening re-check is justified
A later check is most useful when several high-demand conditions overlap. Pay particular attention to containers that are small, hanging, porous, exposed to wind, filled with dense mature growth, or already light and dry during the morning inspection. A hot, dry, windy day can also shorten the time before a container needs attention.
- Inspect a small or hanging container again late in the day if it is in direct sun or an exposed location.
- Recheck a porous container after unusually hot, dry, or windy weather, especially if the potting mix was already near the dry threshold that morning.
- Monitor mature plantings and fruiting vegetables more closely as foliage and root growth fill the container.
- If a plant is wilting late in the day, confirm the mix moisture before watering. If the mix is genuinely dry, respond rather than automatically waiting until the next morning.
- If the mix is still moist, look for other possible causes of the appearance and avoid adding water solely because the leaves drooped during heat or wind.
Morning remains a useful default, but it is not an absolute prohibition on later watering. The plant’s immediate condition, local weather, irrigation method, foliage wetness, and regional disease pressure can affect the best response. Direct water to the mix and preserve good drainage.
Make the routine more forgiving: pot size, mulch, placement, and drainage
The easiest watering routine is one that does not force a small container to carry a large plant through extreme weather. When choosing or rearranging pots, consider how container volume, material, and placement will affect drying speed. The container-material guide explains why these choices matter without turning them into a fixed watering timetable.
- Use an adequately sized container for the plant and its expected growth, recognizing that larger volume generally provides a greater moisture buffer than a very small pot.
- Treat exposed pot walls and porous materials as reasons for closer monitoring, not automatic proof that daily or twice-daily watering is required.
- Use a light mulch layer where appropriate to slow surface evaporation and moderate the potting-mix surface temperature. Keep mulch away from the plant crown, and continue checking below the surface.
- Place containers where their light and temperature needs can still be met, while considering temporary protection from severe wind or heat when appropriate for the plant.
- Check drainage holes and saucers as part of the routine. A container that cannot drain properly may remain wet even when its surface looks dry.
- Do not rely on water-retaining products as a substitute for monitoring; they should not be assumed to meaningfully extend watering intervals under all conditions.
A simple summer decision rule
Each morning, check the mix below the surface, the plant’s condition, the pot’s weight when practical, and the day’s exposure. If the mix is dry enough for that plant, water the full root zone and confirm drainage. If it is still moist, hold off and check again when the weather or plant’s condition warrants it. On hot, dry, or windy days, make a later check for high-risk containers; do not assume that a second check means a second watering.
This diagnosis-first habit keeps watering responsive to the container in front of you. Regional climate, plant type, potting mix, and site exposure still matter, so adjust the threshold and frequency as you learn how each container behaves through summer.
Sources and further reading
- extension.oregonstate.edu — extension.oregonstate.edu
- extension.colostate.edu — extension.colostate.edu
- extension.umn.edu — extension.umn.edu
- extension.colostate.edu — extension.colostate.edu
- extension.illinois.edu — extension.illinois.edu
- extension.illinois.edu — extension.illinois.edu
- extension.illinois.edu — extension.illinois.edu