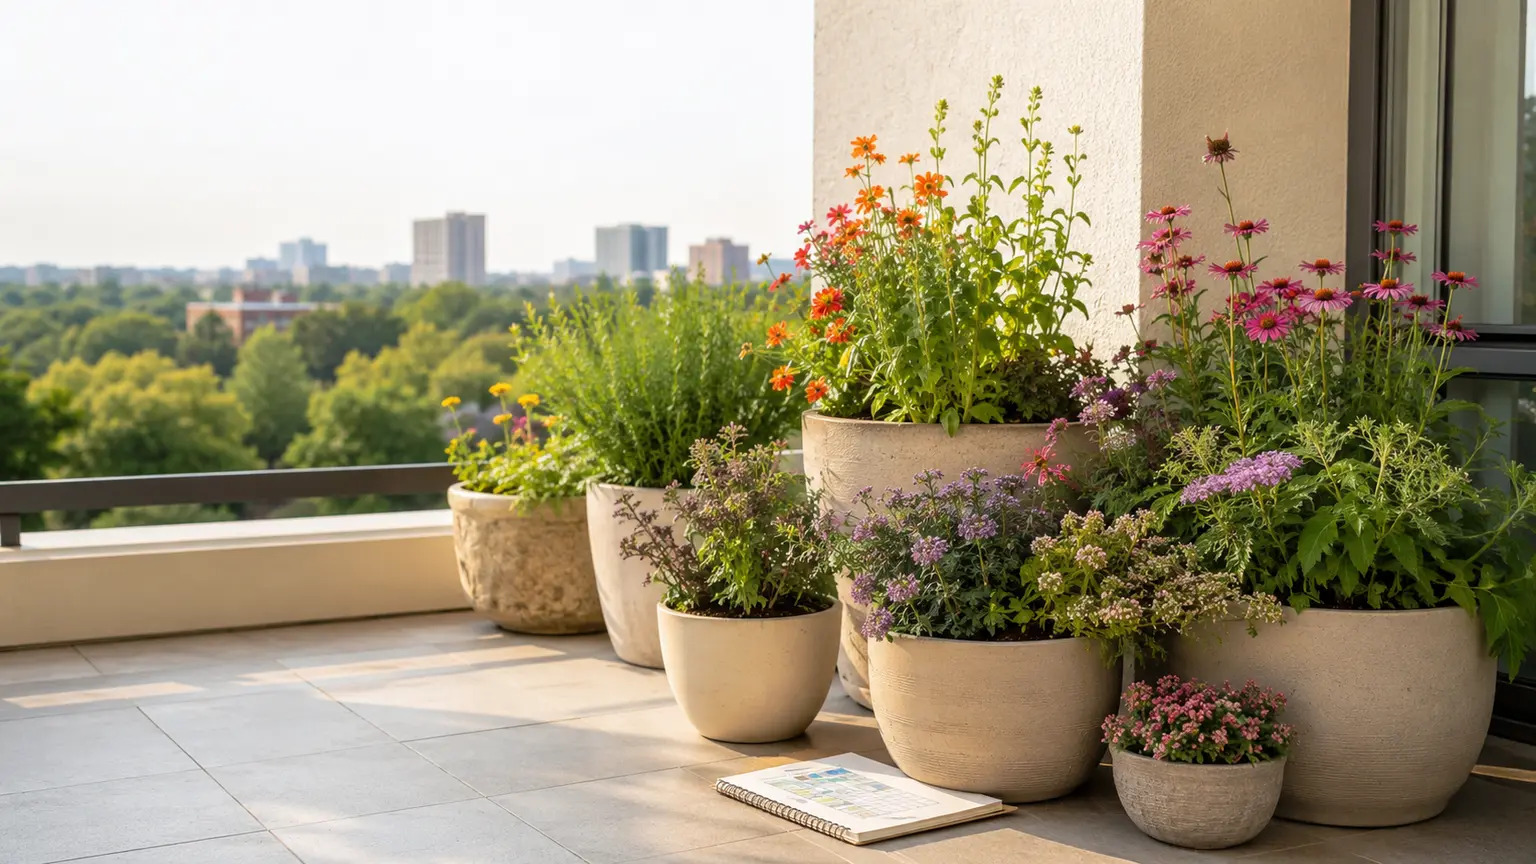
A pesticide-free patio does not need to be perfectly untouched. A more workable goal is to prevent avoidable plant stress, notice problems early, and respond proportionately when damage is increasing. This approach protects the plants while leaving room for the insects and other organisms that are part of a functioning garden.
Start with a realistic pesticide-free patio standard
Use a simple observe-identify-threshold-prevent-control loop. Inspect leaves, stems, flowers, and the surface of the potting mix regularly. If you see an insect, first determine whether it is actually causing a problem. Some insects are harmless, some may be beneficial, and others can damage a plant quickly. A clear identification is more useful than reacting to every unfamiliar movement.
Set an action threshold before the season gets busy. For example, you might accept a small amount of cosmetic feeding on an established plant, but act when damage is spreading, new growth is being distorted, or a young plant is losing vigor. This is not a universal rule: seedlings, edible crops, ornamental flowers, and plants hosting butterfly larvae can have very different tolerances. Severe, fast-moving, or unfamiliar problems deserve help from a local Extension service or Master Gardener program.
Design containers that make plants resilient
Prevention starts before planting. Choose healthy transplants and containers with drainage holes. Match plants that share compatible light and moisture needs rather than crowding unrelated plants into one pot. Overcrowding can reduce air circulation and increase the risk of disease, while mismatched watering needs make it harder to keep every plant growing well.
Container care should respond to conditions, not a fixed calendar. Check moisture regularly, especially on exposed patios and balconies. Pots can dry quickly in sun or wind, but persistently wet mix can deprive roots of oxygen and contribute to poor growth or root problems. Water according to the pot, weather, and plant, and make sure excess water can drain away. Empty saucers after rain or watering so they do not remain as standing-water sites.
- Map the patio’s sun, reflected heat, wind, and winter exposure before buying plants.
- Choose pot sizes, drainage, and plant groupings that fit those conditions.
- Leave enough space for air movement and mature growth rather than filling every gap.
- Remove dead or badly damaged plant material during regular inspections.
- Record watering, bloom timing, and recurring problems so next season’s choices improve.
For a more detailed starting point, use How to Map Sun, Heat, and Wind on a Small Patio Before Choosing Plants and How to Check a Patio Pot for Drainage Problems Before You Plant. Specific light, spacing, fertility, and overwintering needs still vary by species and climate.
Build a bloom relay, then localize the plant list
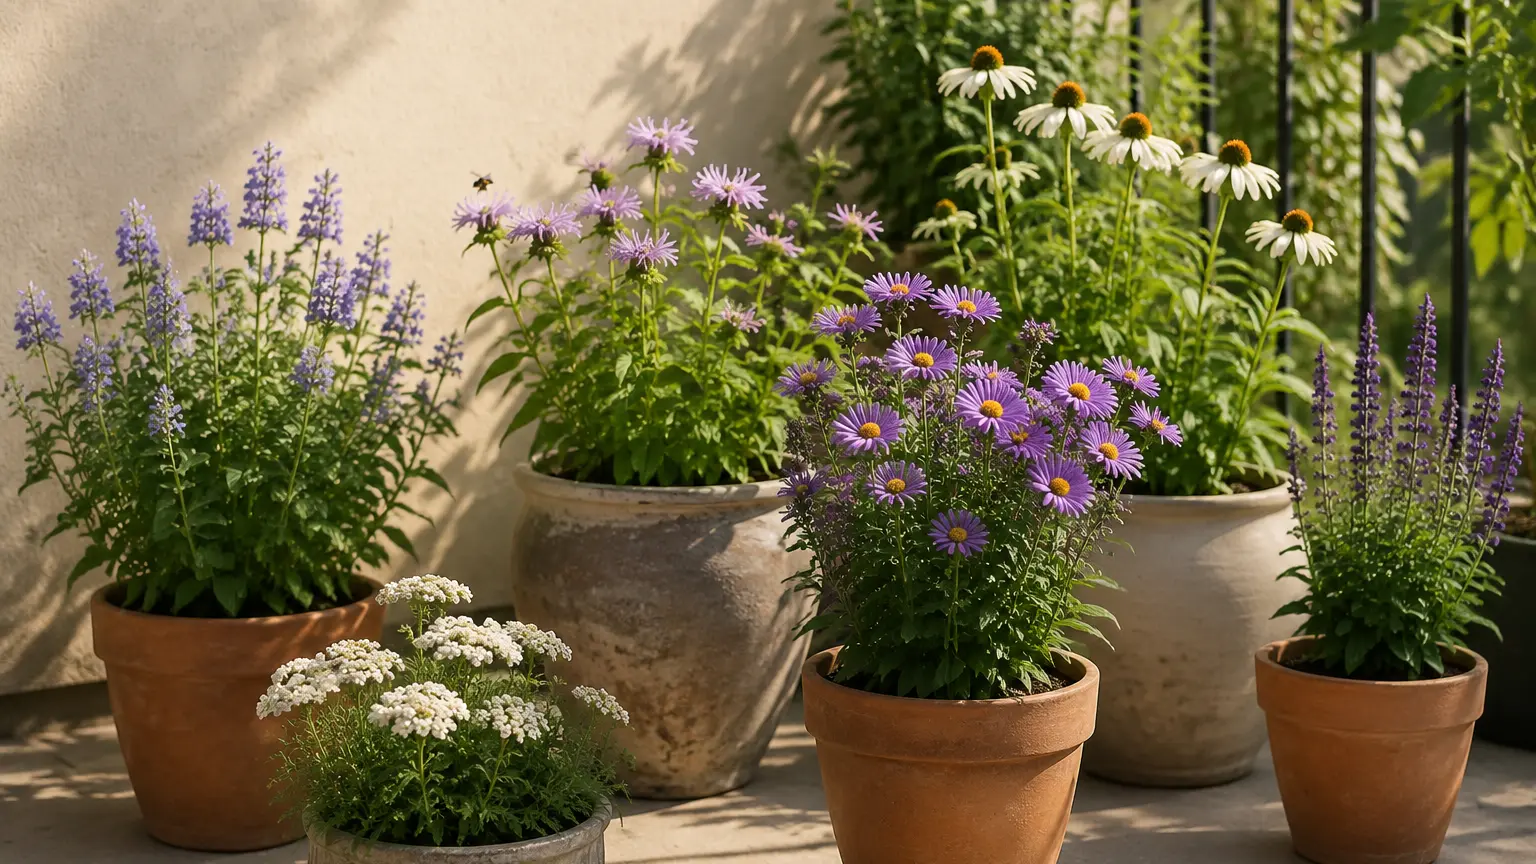
Instead of relying on one dramatic flowering plant, plan a relay of overlapping bloom periods. On a worksheet, create three columns: early season, middle season, and late season. Add patio-suitable candidates to each column, then check whether their light, moisture, mature size, and winter requirements fit the site. The aim is continuity of flowers across as much of the growing season as your region and conditions allow, not a guaranteed visit from a particular pollinator.
Do not copy a plant list from another state without checking it. Verify native range, invasive risk, bloom timing, mature dimensions, and container suitability with a local Extension office, native-plant society, or botanic garden. A local source can also help identify plants that tolerate the patio’s heat, wind, winter conditions, and watering limits. The guide How to Find Native Plants That Can Grow Well in Containers in Your Region can help organize that research.
Handle pests without reaching for a spray
When you notice damage, work through the least disruptive response that fits the correctly identified problem:
- Inspect the whole plant and look for a pattern: chewed edges, distortion, discoloration, webbing, or declining growth.
- Identify the organism before deciding that control is needed. Photographing the plant and damage can make local diagnosis easier.
- Accept minor cosmetic damage when the plant is otherwise growing well and the damage is not escalating.
- Use physical tactics when appropriate, such as hand removal, exclusion barriers, or a firm stream of water for some soft-bodied pests.
- Check the plant again soon after an intervention. Physical controls work only when they are matched to the problem and repeated when necessary.
Barriers and row covers can exclude some insects, but they also exclude pollinators. If a cover is used over an insect-pollinated edible crop, remove it when flowers need access. Covers should not remain over flowers intended to be visited. Hand removal and water can also disturb leaves or flowers if used too forcefully, so apply them carefully and observe the plant’s response.
Do not assume that every instance of leaf damage calls for action. Mature plants can sometimes tolerate substantial feeding, but that example does not apply automatically to ornamental flowers, seedlings, host plants, or every pest. If a problem is persistent, rapidly spreading, regulated, or unfamiliar, contact a state or county Extension service or state agriculture department for diagnosis and nonchemical options.
Buy plants as carefully as you plant them
Sourcing is part of a pesticide-free plan. A plant tag that mentions pollinators does not establish that the plant was grown without pesticides. Before buying, ask the nursery or garden center:
- Were pesticides used during production?
- Can you describe which production practices were used?
- Do you have information from the grower about treatments before the plants arrived?
- Which plants are suitable for this region and for containers?
- What are the plant’s light and moisture requirements?.
A seller may not have a complete production history, and marketing language is not a guarantee of zero residues. Ask questions, compare answers, and favor sellers willing to provide clear information. Local Extension guidance can help you evaluate regional plant choices and troubleshoot problems without turning to a spray by default.
Turn the plan into a small weekly routine
A pesticide-free patio is easier to manage when observation is brief and consistent. Once a week, check moisture, drainage, new growth, leaf undersides, and bloom progression. Note anything changing rather than trying to solve every imperfection immediately. Remove fallen or badly damaged material, adjust spacing or watering when needed, and revisit your action threshold before intervening.
This prevention-first routine supports healthier containers and leaves room for reasonable tolerance. It also keeps decisions grounded in the actual patio: its exposure, its plants, and the problems that truly develop there. No small planting can guarantee a particular habitat outcome, but careful sourcing, steady care, bloom continuity, and proportionate physical controls can make a pesticide-free approach practical.
Sources and further guidance
- EPA: Integrated Pest Management (IPM) Principles — https://www.epa.gov/safepestcontrol/integrated-pest-management-ipm-principles
- University of Illinois Extension: Disease and Insect Problems — https://extension.illinois.edu/container-gardens/disease-and-insect-problems
- University of Illinois Extension: Watering — https://extension.illinois.edu/container-gardens/watering
- Oregon State University Extension: Growing Your Own — https://extension.oregonstate.edu/catalog/em-9027-growing-your-own
- Colorado State University Extension: Attracting Native Bees to Your Landscape — https://extension.colostate.edu/resource/attracting-native-bees-to-your-landscape/
- University of Maryland Extension: Pollinators and Pesticides — https://extension.umd.edu/resource/pollinators-and-pesticides
Sources and further reading
- www.epa.gov — www.epa.gov
- extension.oregonstate.edu — extension.oregonstate.edu
- extension.illinois.edu — extension.illinois.edu
- extension.illinois.edu — extension.illinois.edu
- extension.illinois.edu — extension.illinois.edu
- extension.colostate.edu — extension.colostate.edu
- extension.umd.edu — extension.umd.edu